| Table of Contents |
|---|
Account selection
xHP uses user - accounts to save store all data (vehicles, Custom - custom settings, licenses) across devices. You are required will need to create a Login an account for this. Do so this in the sidebar - menu. You have 2 two options for that:
Create a Login manually within xHP
Use Social Logins Manually create an xHP-specific account
Use social logins (Google, Facebook, Apple)
This Login-Scheme login scheme started with App-Version app version 3.0 in March 2020 and the introduction of the iOS -Version version of xHP. With previous versions, the app used the Google Play store e-Mail Store email in the background to identify the customers customer's account.
| Info |
|---|
Customers before April 2020 |
|
must use the same email |
they use on Google Play to |
regain access to previously |
purchased items. For |
example, if your Google Play |
email was xyz@gmail.com |
, you can |
manually create an account |
with xyz@gmail.com |
or use one of the |
social logins with the same email to |
regain access. |
It doesn't matter which option you choose as long as you use the same |
email! |

There is a separate Login login for xHP Pro Users users! xHP Pro Users are required to choose users must select this option.
General navigation
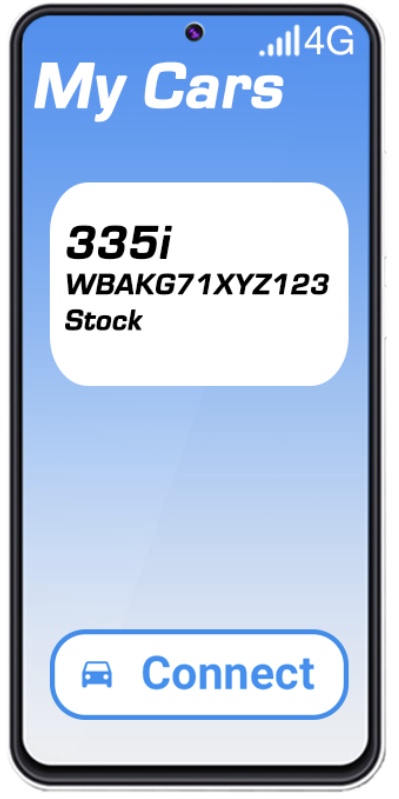
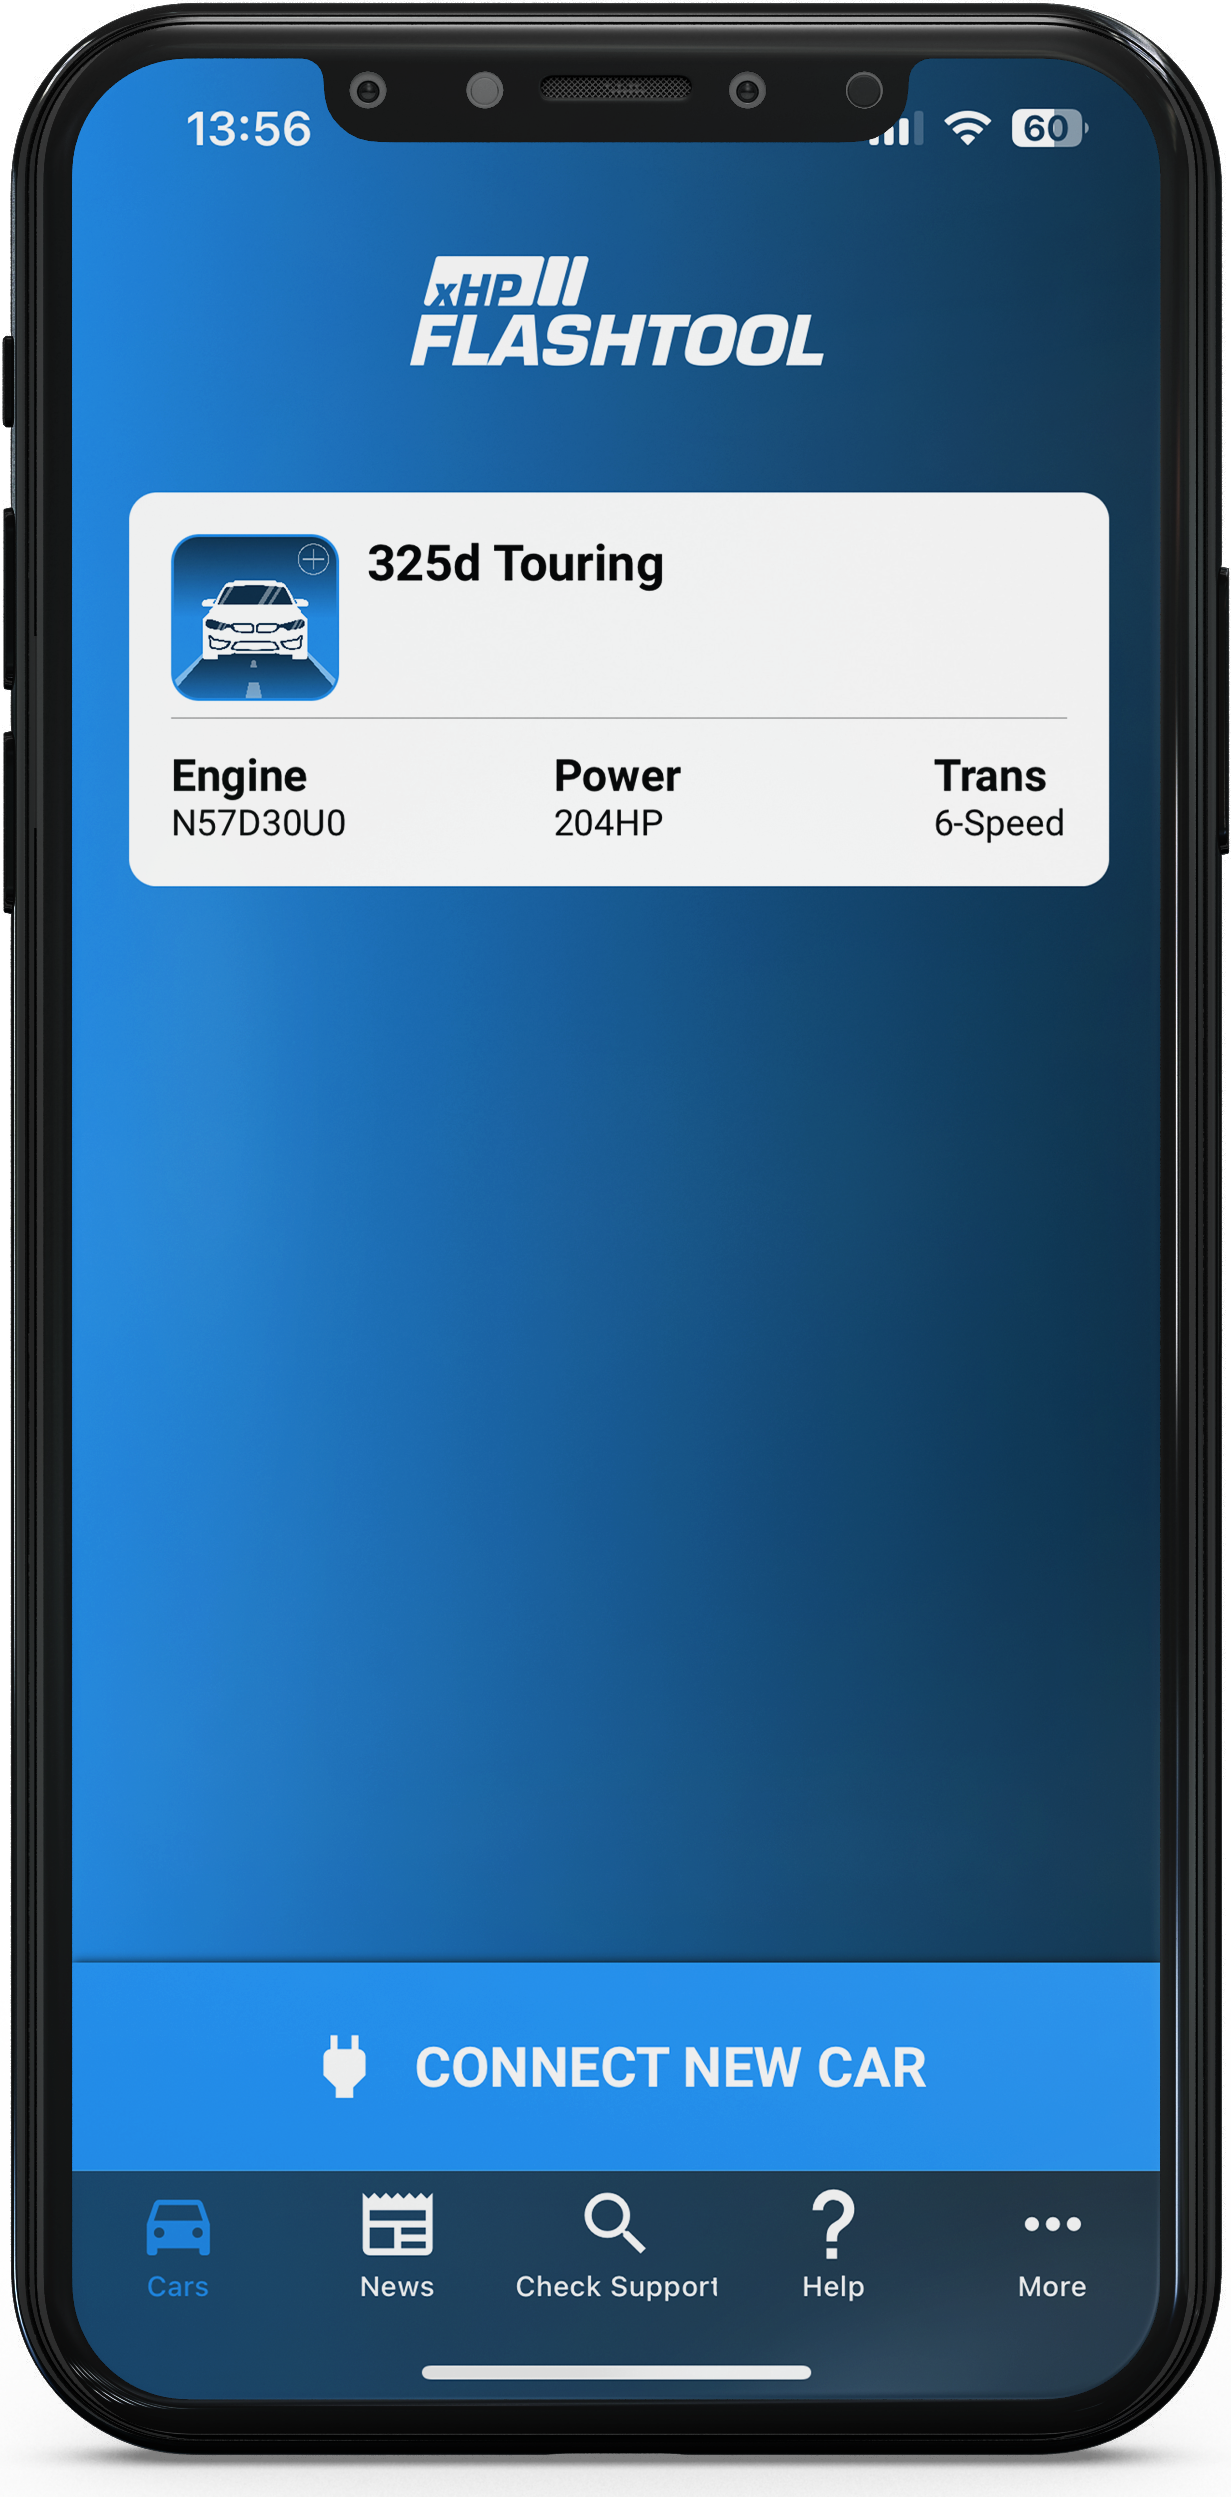
Once you are logged in, the app will show the car-list on the “my cars” application displays the list of vehicles on the "Overview" page, which acts as the main screen. On
At the top leftbottom, you have access to find the side bar menu, which lets gives you access to all generic the general functions , not directly related to a certain vehicle (Manualspecific vehicle:
News - here you find all the latest developments
Check Support - includes a VIN scanner, for example
Help - including links to our Tour, FAQ,
Manual & Connect guide
More - with Diagnostics, the “Send Logs” feature, app settings and “About” page.
For all flash flashing operations, either click “Connect” "CONNECT NEW CAR" or manually select a vehicle manually.
You can find more Information regarding information about flashing here.
Buying licenses & redeeming voucher codes
Licenses and Map-Packs are to be bought in our web shopLicences and map packs can be purchased from our https://www.xautomotive.com/ . Once you have completed your purchase, you will receive one or more voucher codes through your via email, which can be redeemed inside within the xHP app.
To redeem a code, you need to connect & save must first connect to your vehicle first. Please see here on .
You can find out how to do thatthis here.
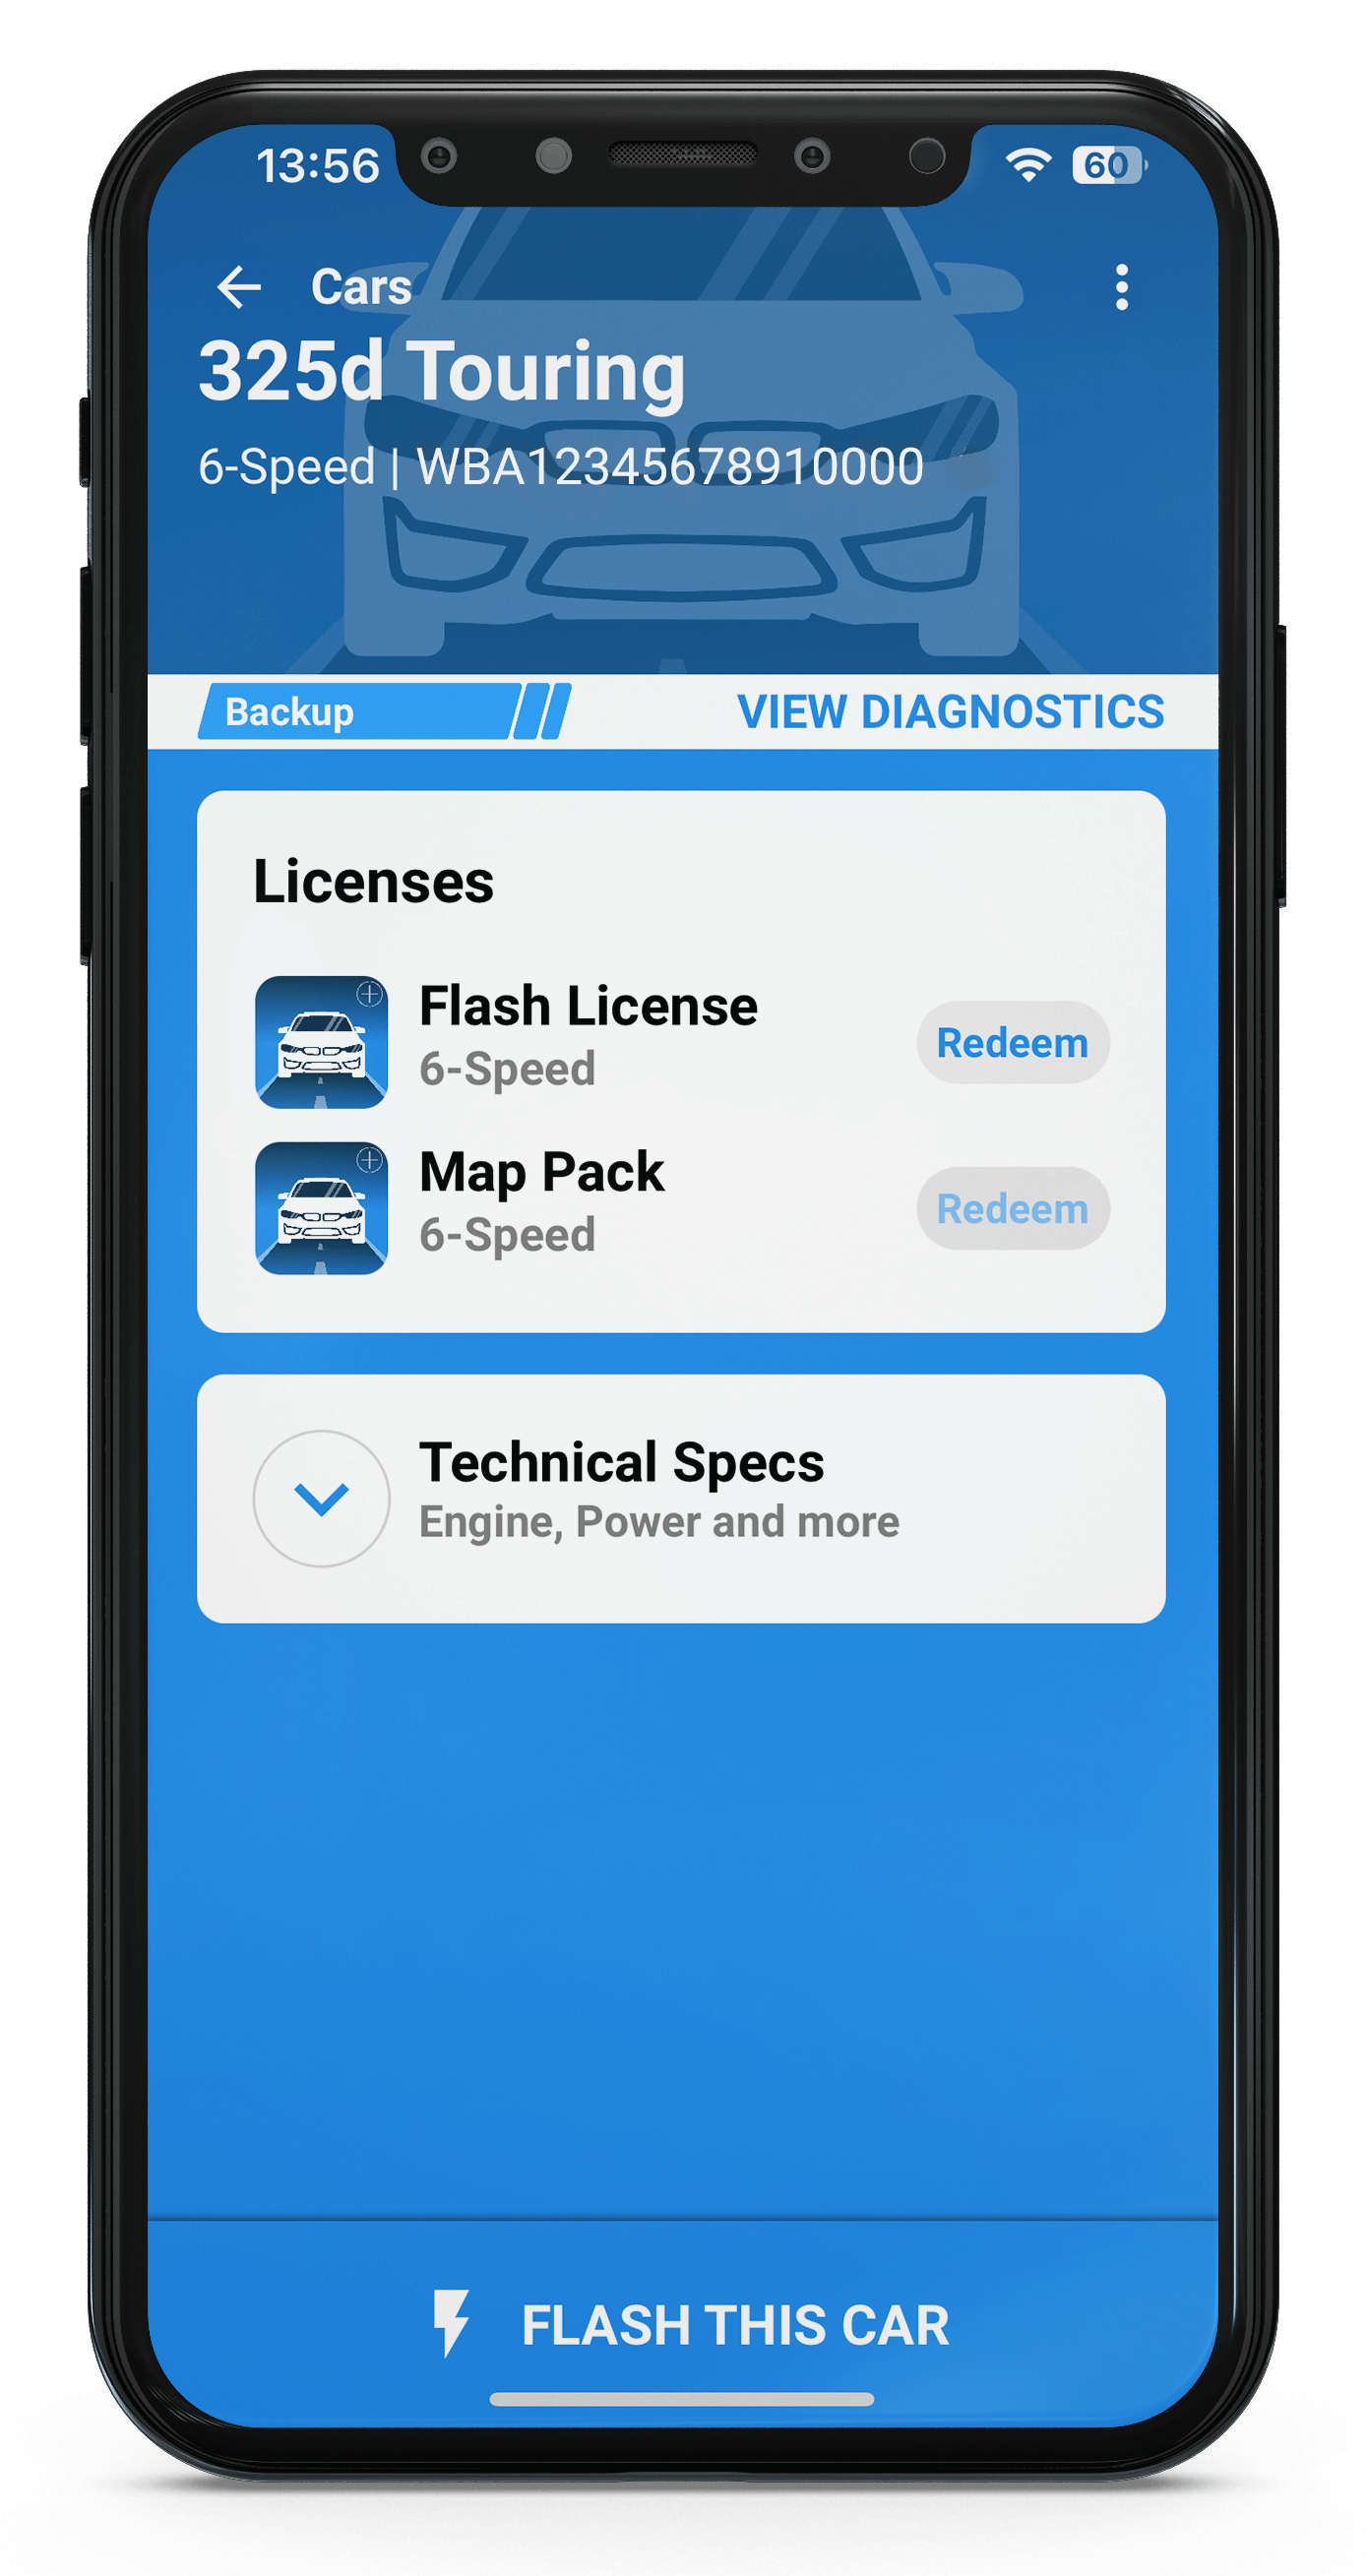
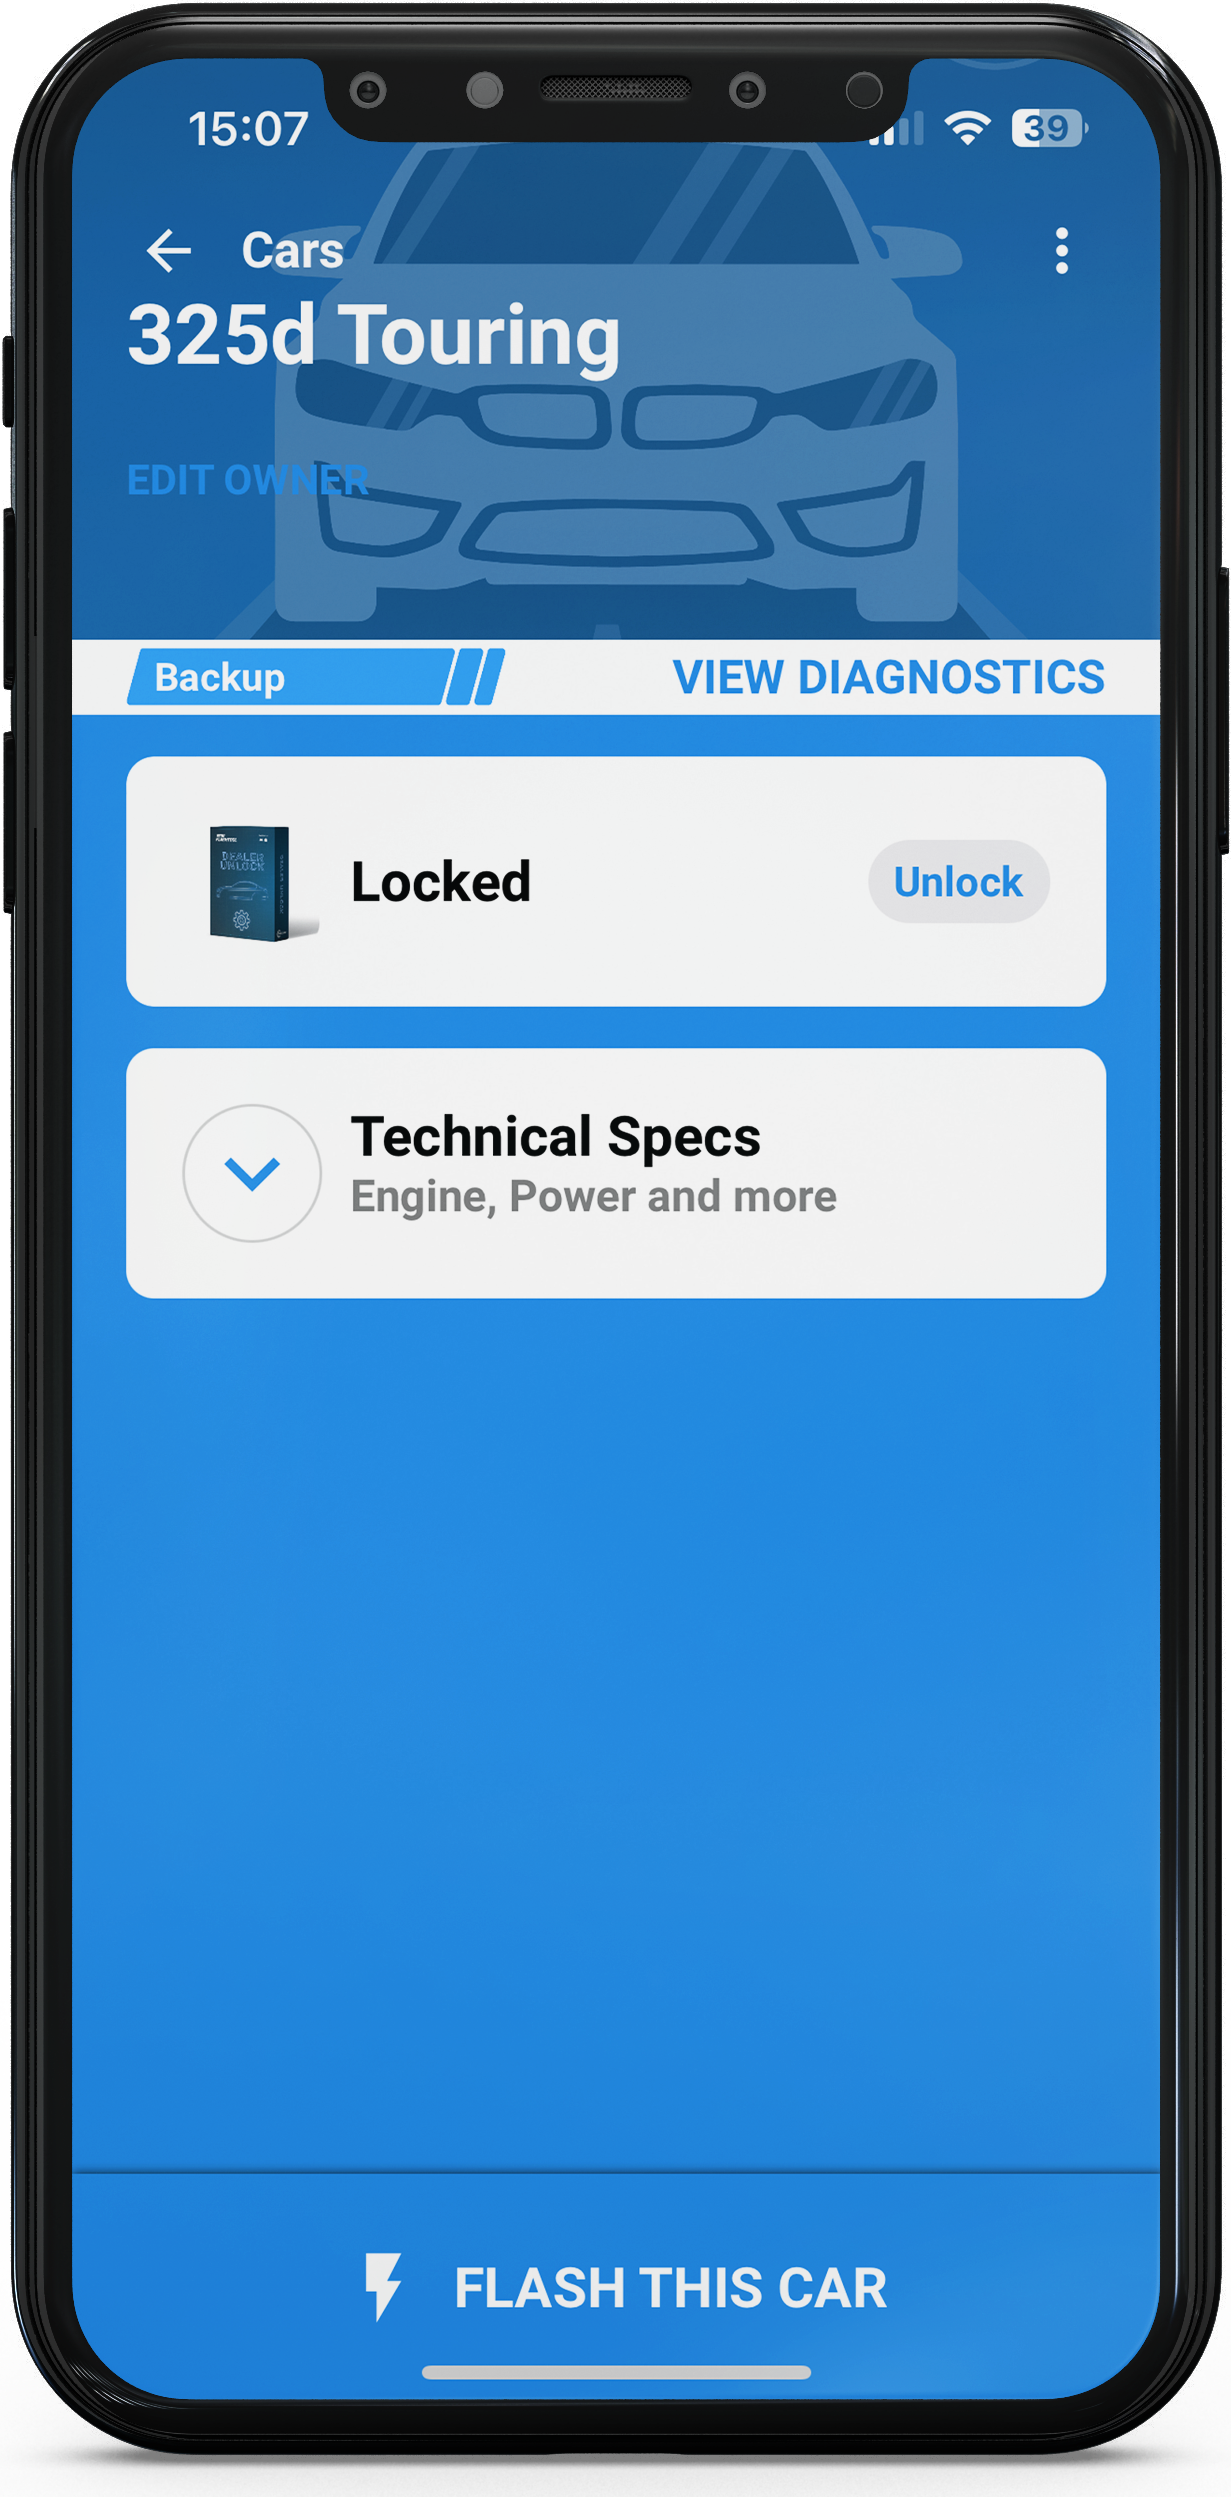
Once your car is savedshows up in the app, you will can find it on the “my cars” "Cars" page of xHP.
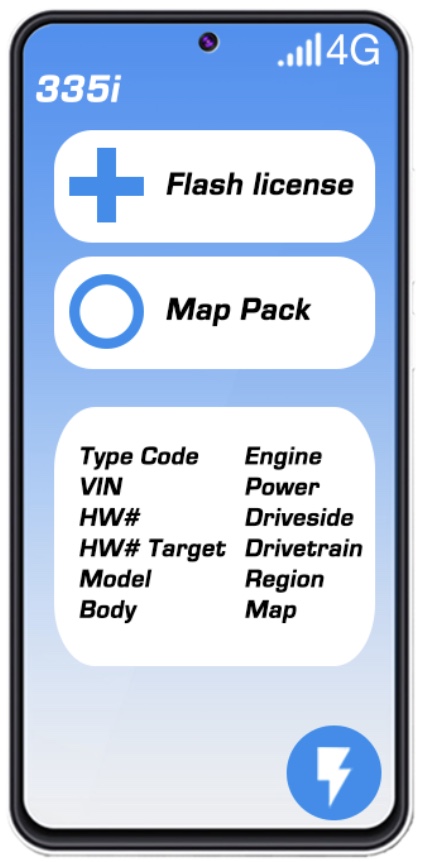
After opening the car, you will see 2 Buttons “Flash License” and “OTS Map Bundle”, which show you the current status. Just tap a button and enter the received voucher code to map this you will see two buttons marked “redeem” next to the "Flash License" and "Map Pack".
Tap either button and enter the voucher code you received to map that item to your car.
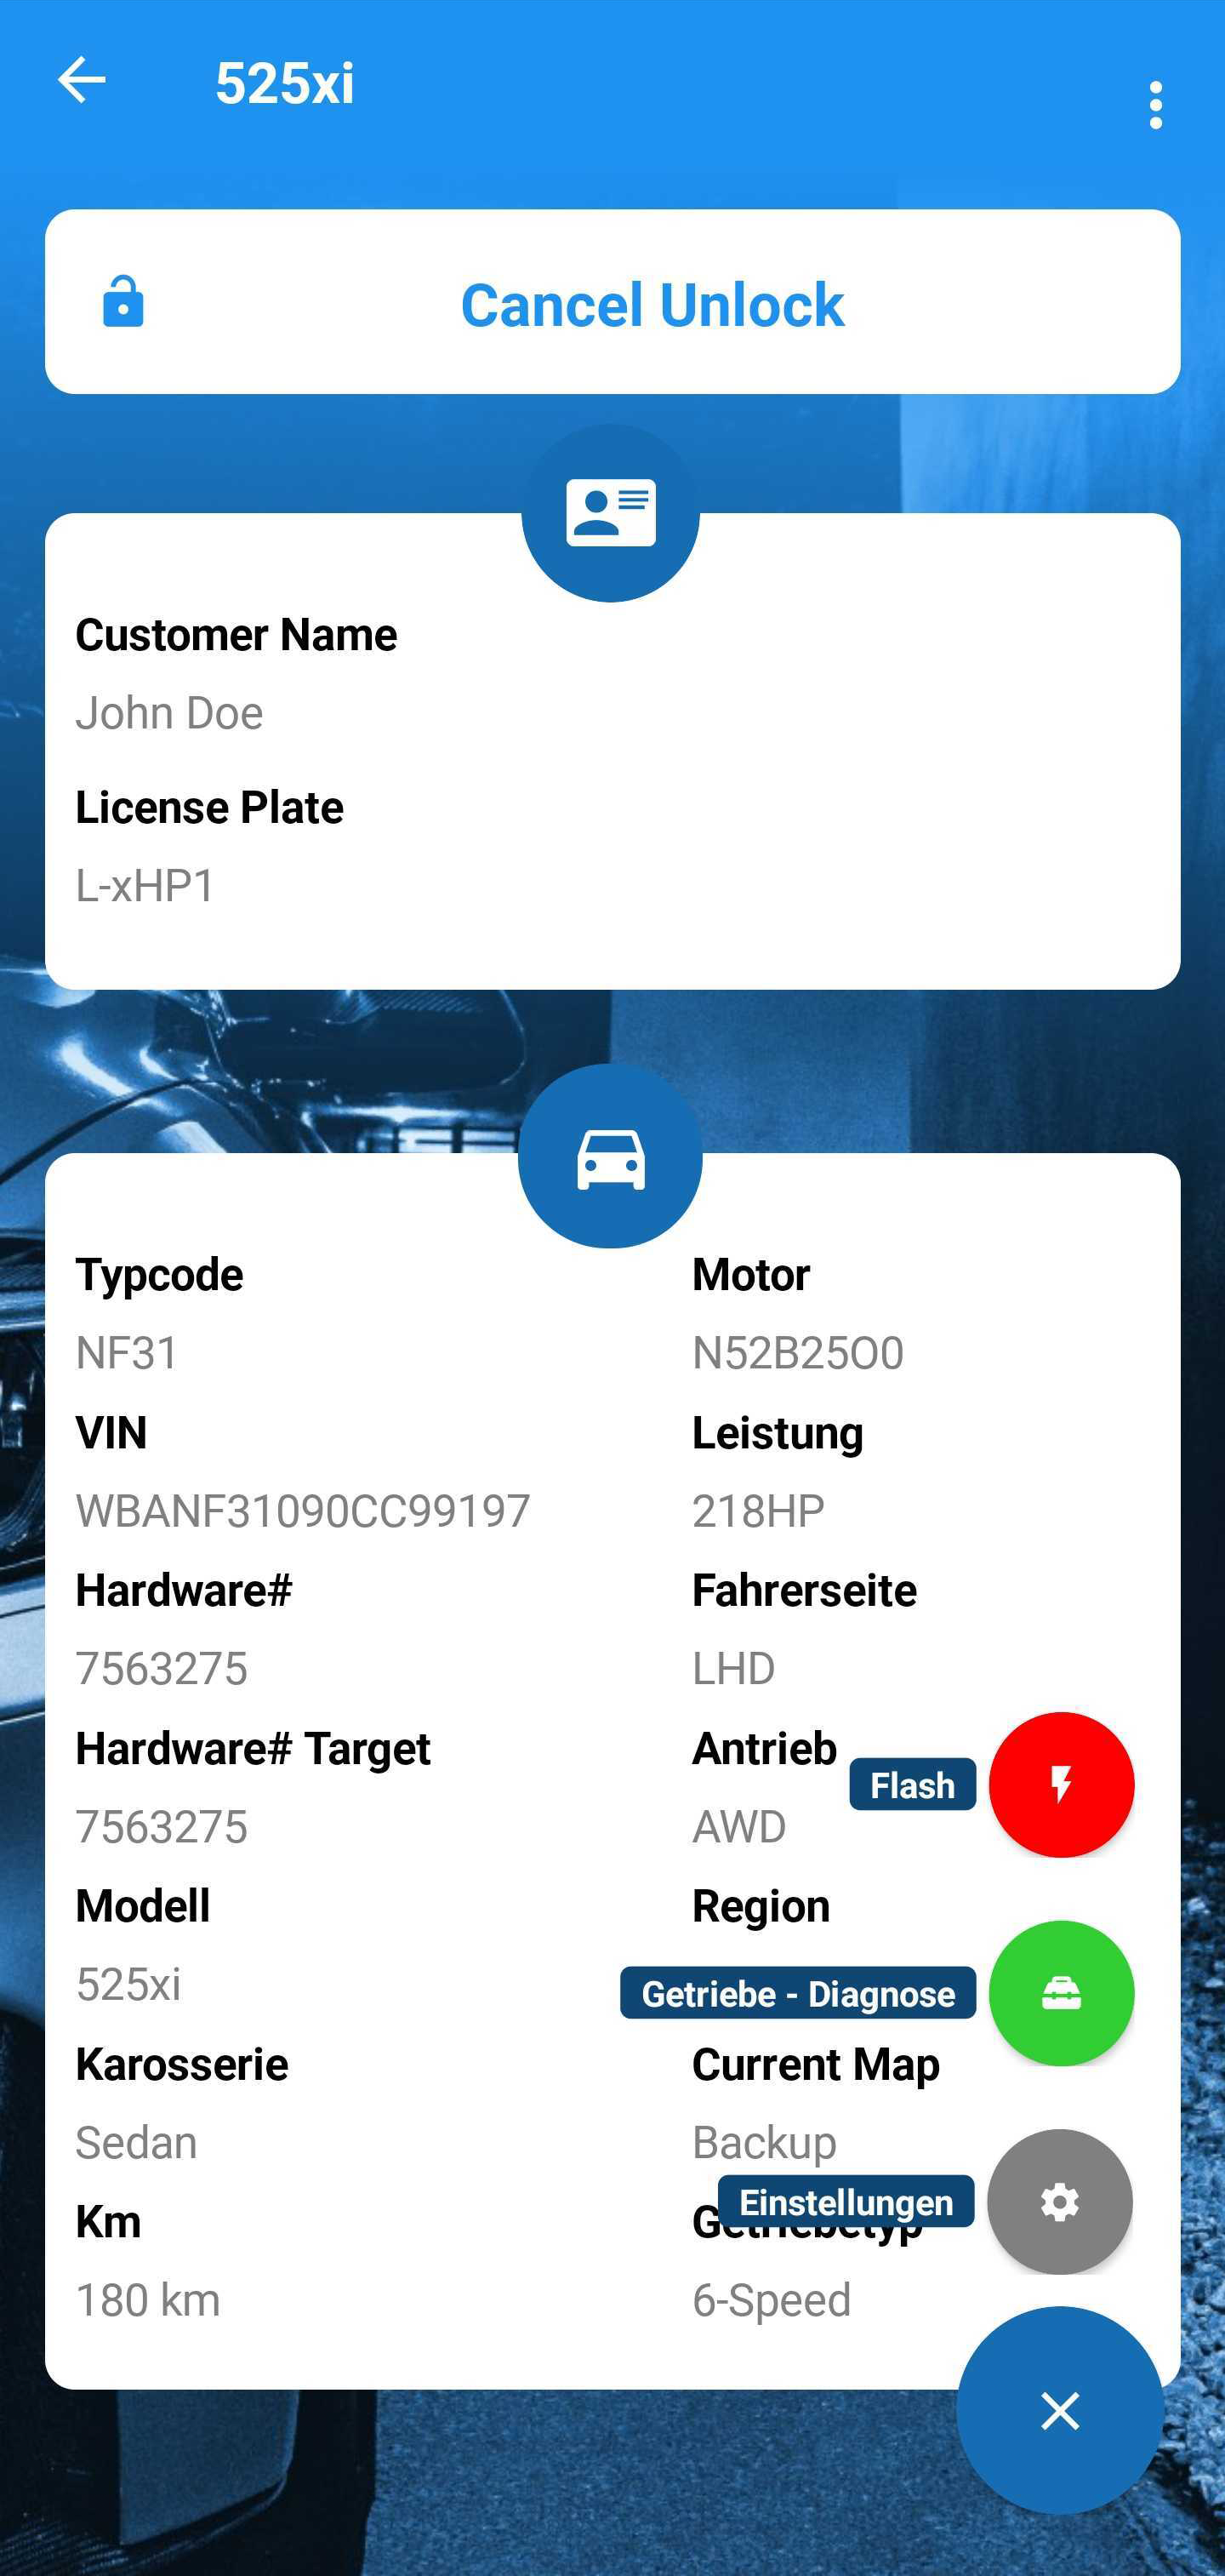
Please double- check , that you have selected the correct vehicle car and that your are logged in to the correct email account.
your voucher can no longer be used. This cannot be undone.
| Info |
|---|
By redeeming the voucher |
code, you bind the |
licence to the email account you are currently logged into and the selected vehicle (VIN) |
. |
Flash maps
There are 2 two ways to flash a map. Either press the “Connect” "CONNECT NEW CAR" button on the main Screen screen to identify your vehicle, or select your vehicle or select it directly from the list on the “My Cars” "Cars" screen. After
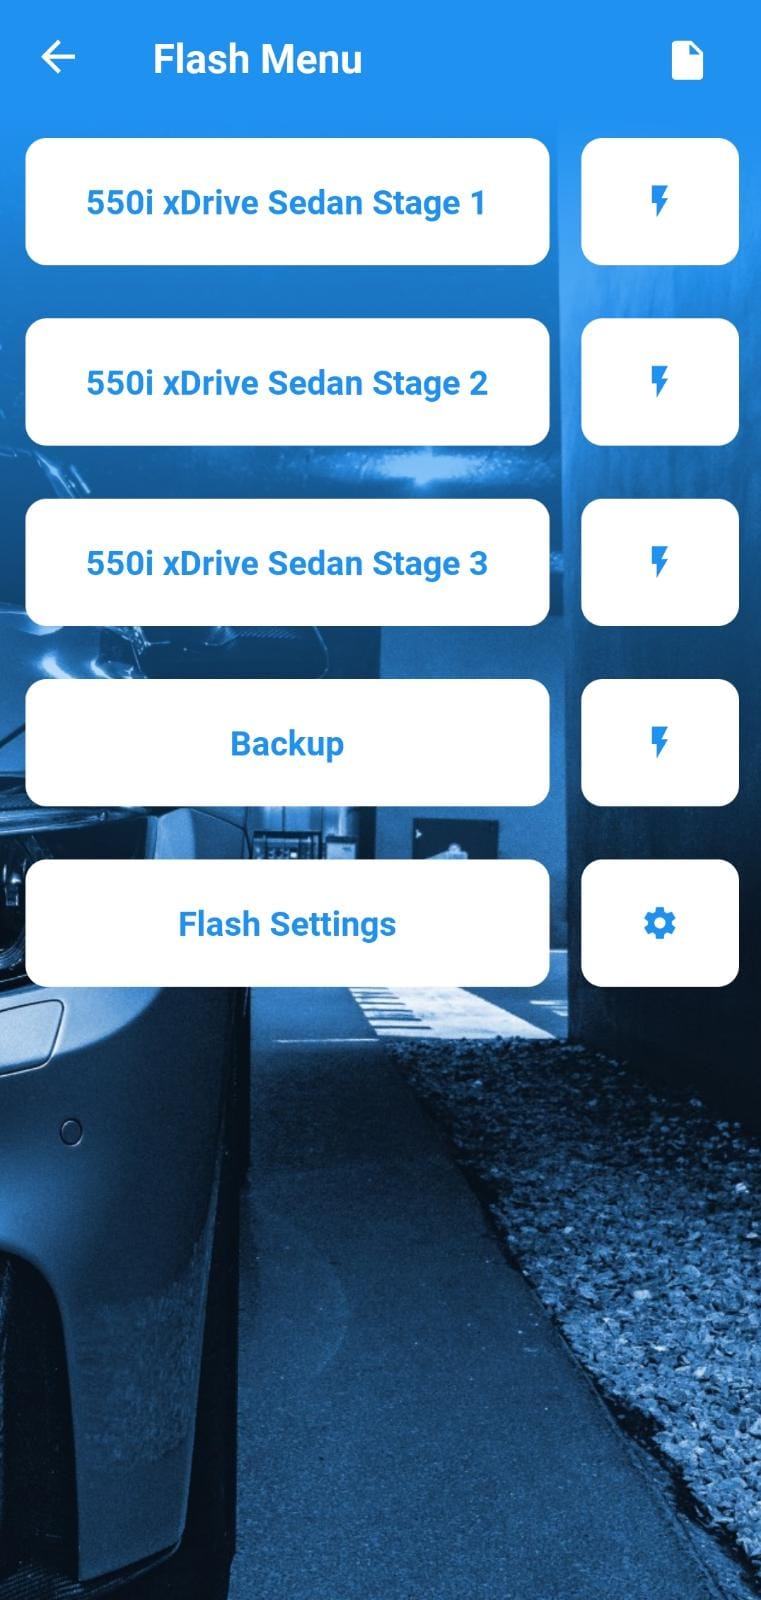
Once the vehicle is openedopen, press the “Flash” Symbol on the bottom-right and again click on “Flash” in the Pop-Up Menu. This will bring up the Flash-Menu with all available Maps. You can click on a Map to get detailed information on the changes, or directly proceed to flash. When doing this for the first time, or after a re-install of the App"FLASH THIS CAR" button at the bottom.
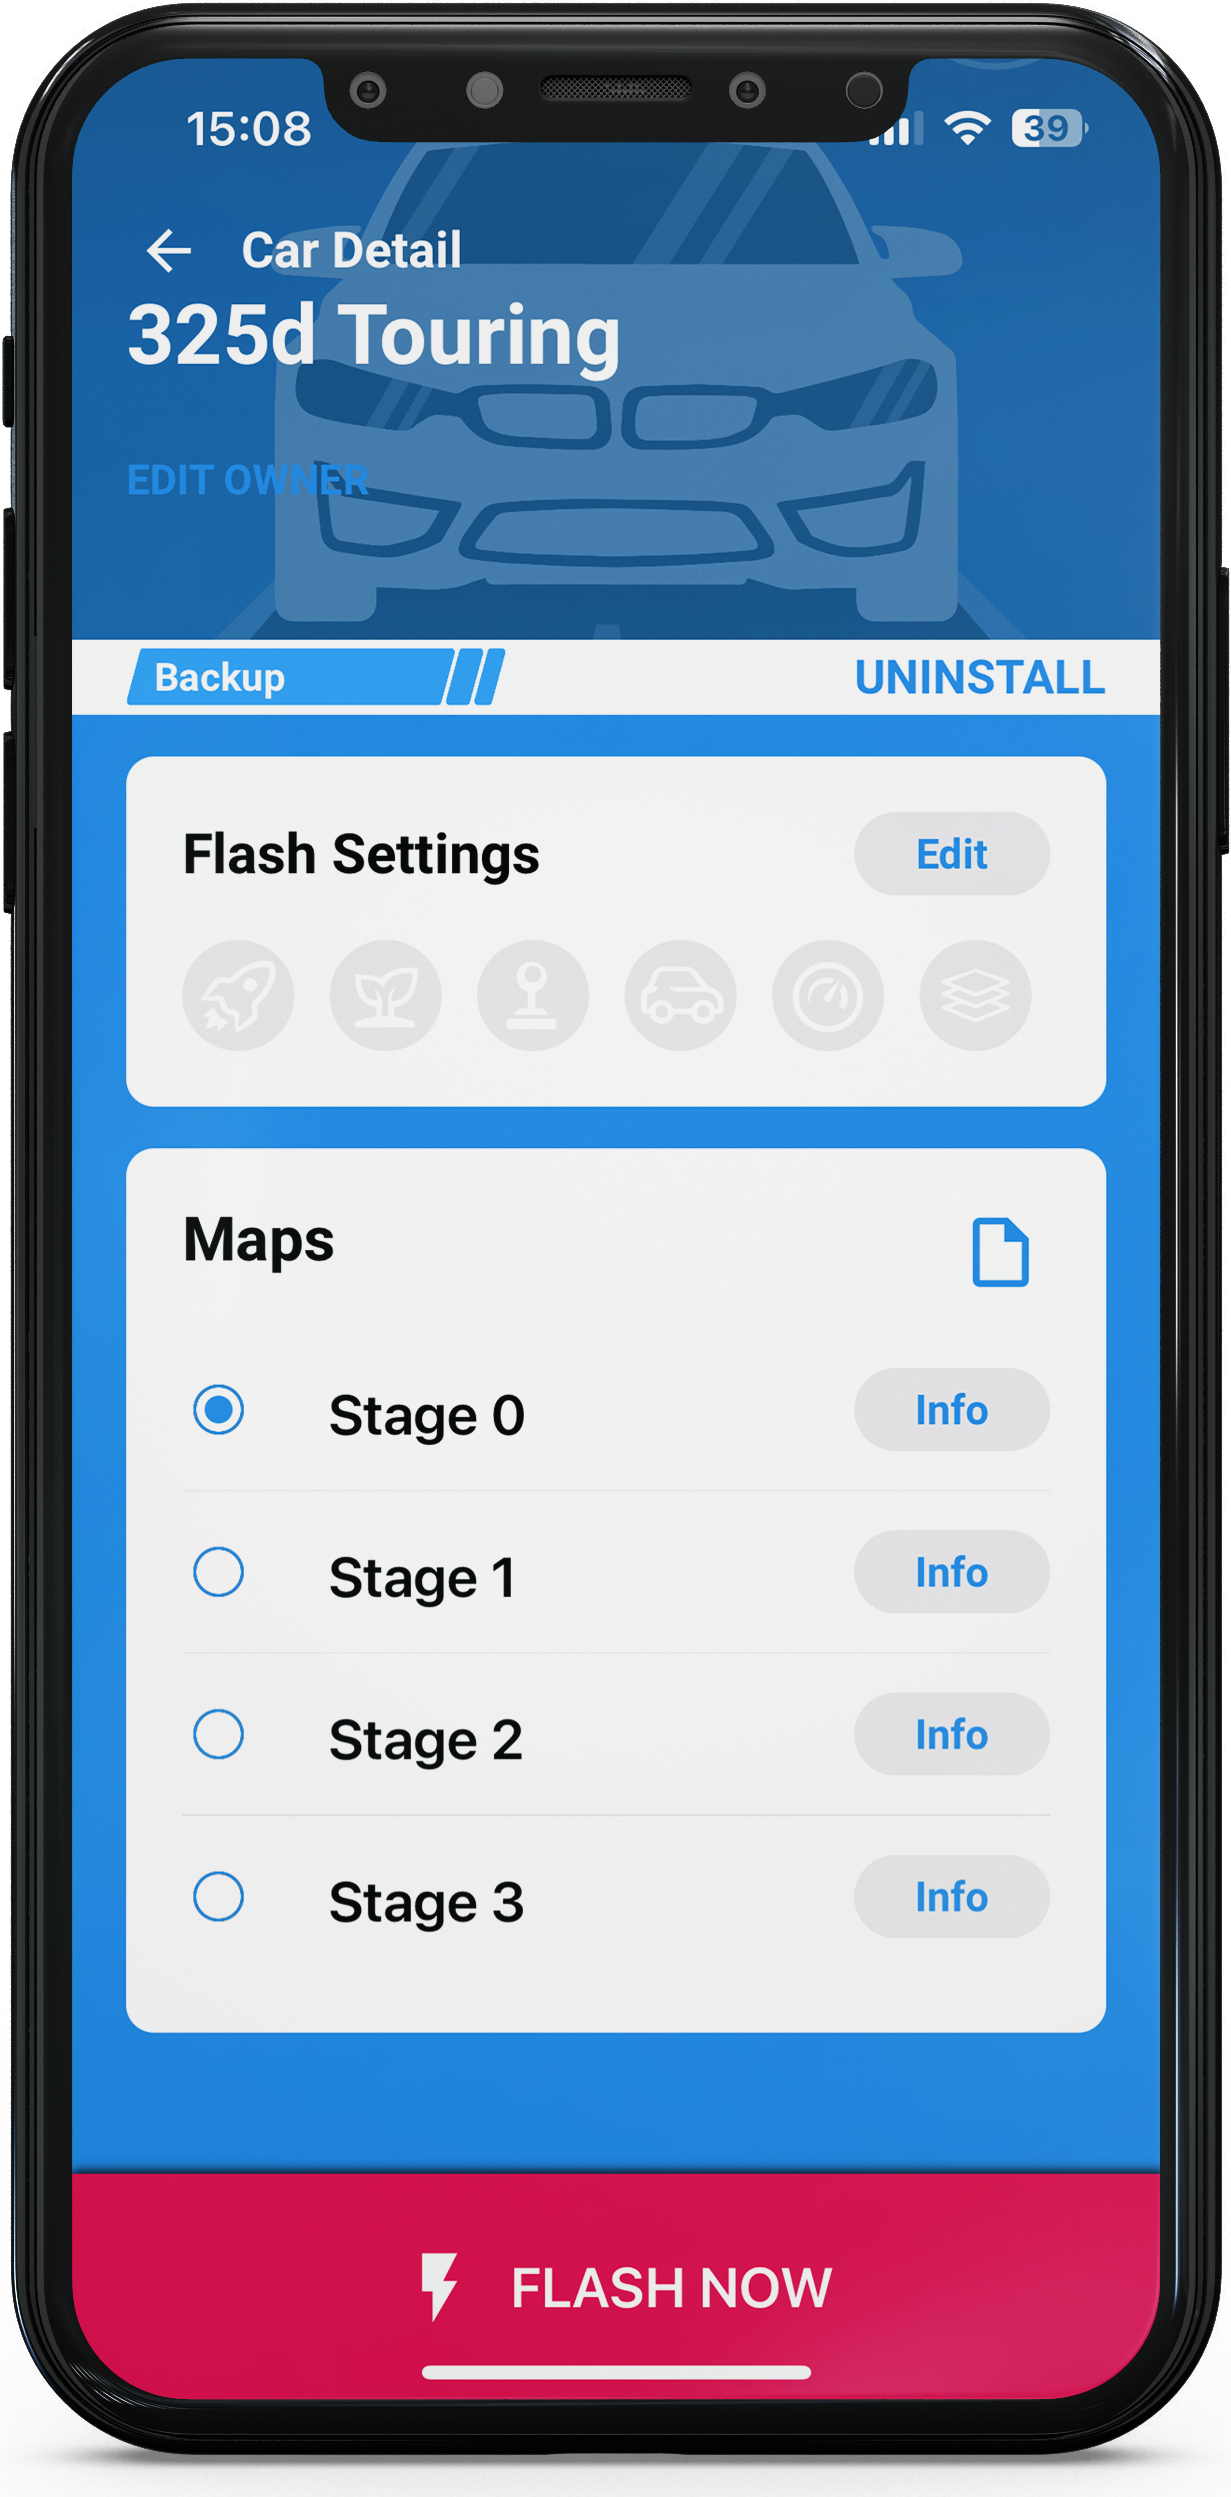
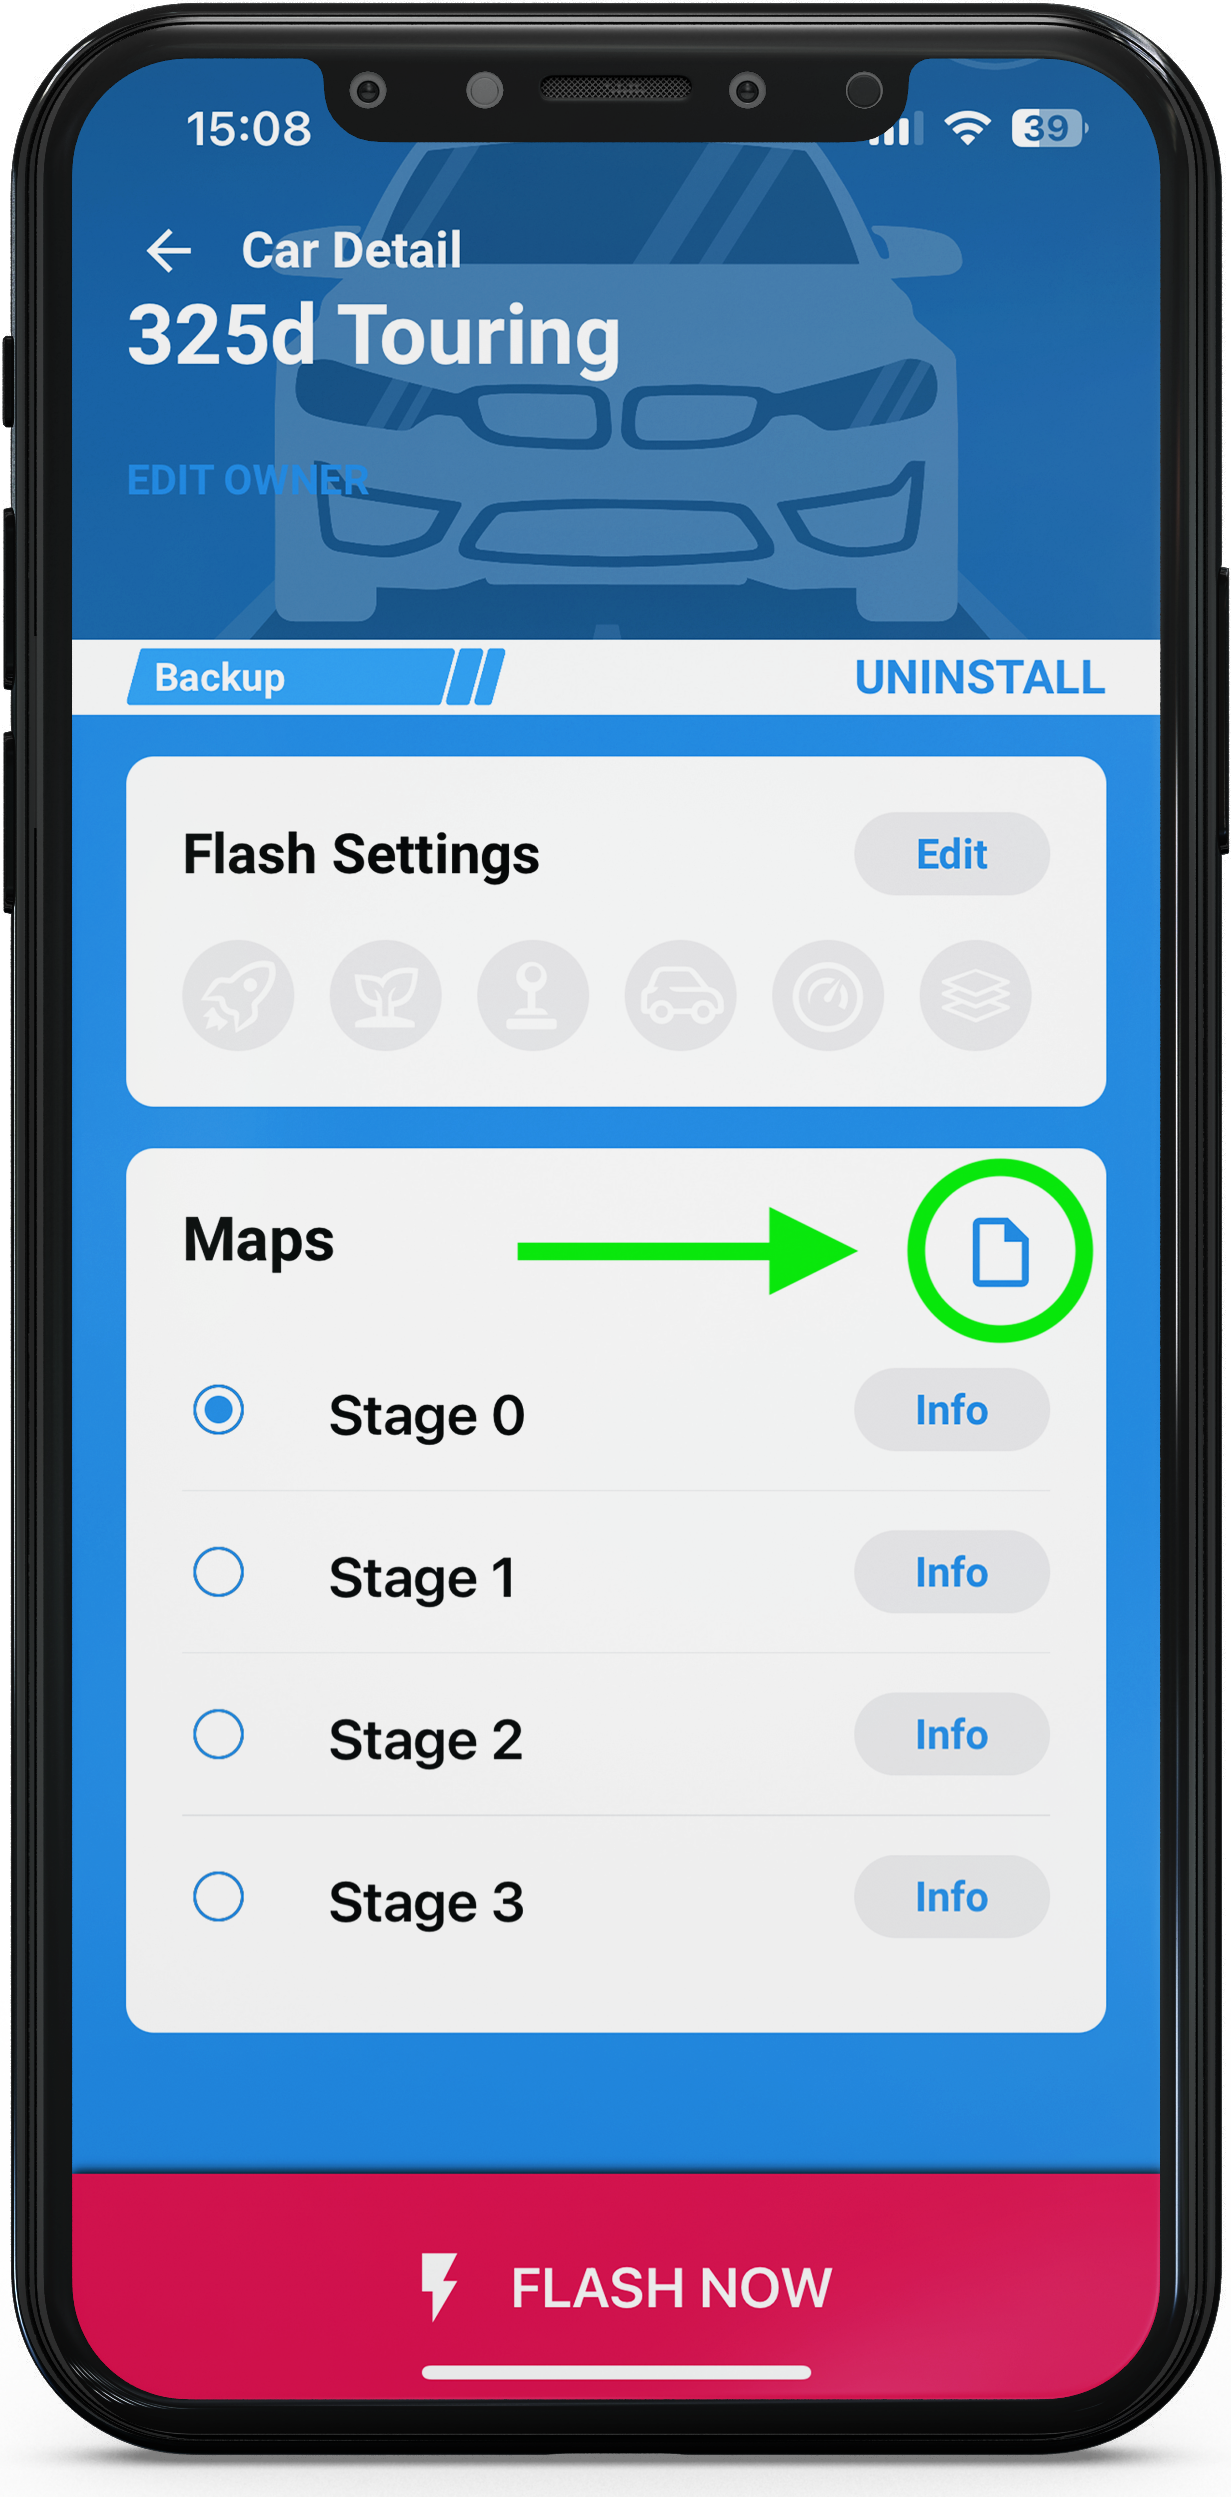
On the "Car Detail" page, you will see an overview of the available OTS Maps.
| Info |
|---|
For detailed information, you can click the "info" button next to the OTS maps. |
The first time you do this, when new versions of your map are available or if you have reinstalled the application, xHP will prompt you to download the files needed required for this car.
If you are connected through to your car via a Wi-Fi Adapter to your vehicle you need to or ENET adapter, you must switch back to Cellular a cellular connection or your local Wi-Fi for carrying out to complete the download.
| Info |
|---|
Make Be sure to obey follow the rules from on How to connect to your car before starting a flash! |
It Using the recommended hardware to perform a flash operation is very important to use the recommended Hardware for carrying out a Flash-Operation. .
Please check the Connect Diagramif you are not sureunsure.
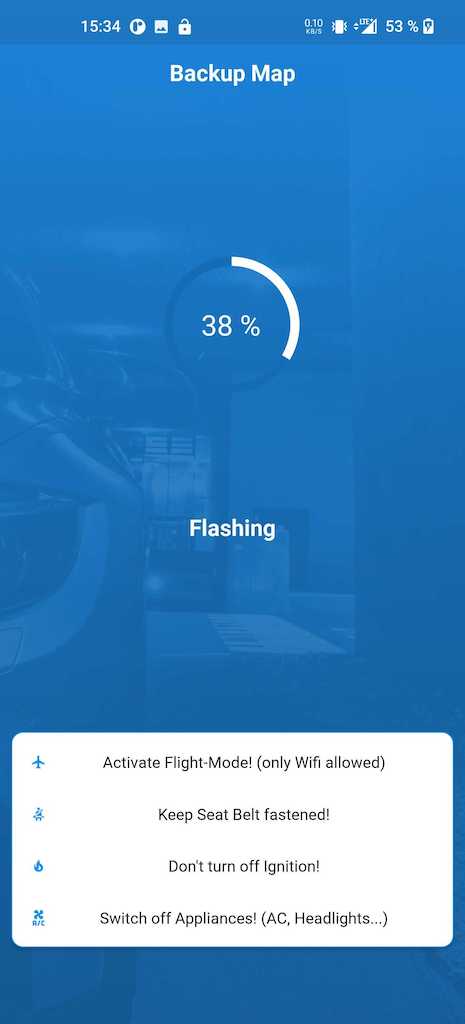
Flash OTS Maps
xHP will flash the calibration section of your transmission controller with the chosen selected calibration file. xHP will calculate and display the remaining time during throughout the whole procedureprocess.
The flash process is designed to be a failsafe and will automatically correct small minor errors or error prone faulty connections , to a certain degreeextent.
However, if a flash fails, you can just start overagain.
xHP is designed to keep your Transmission transmission controller safe in at every process step of the process. Don’t worry, if your car shows various fault .
Don't worry if your car displays various error messages during the flash process, as this is perfectly normal. All errors will be cleared after when the flash procedure has finishedis complete.
When the flash has finishedis complete, the App prompts app will ask you , to switch turn off your Ignition ignition and let your car sit for a few seconds on 6- Speed vehiclesspeed cars.
For an error-free flash procedure and to put as little load as necessary minimise the load on your battery, please pay attention to Chapter 3 read the How to connect to your carsection before flashing your vehicle!

| Info |
|---|
xHP will check the your vehicle's connection and battery voltage of your vehicle before flashflashing. If your voltage is below 11.0V, xHP will refuse to start the operation. |
In the Car-Screen On the “Cars” page, you can find a history of the last files flashed. (3-white-dots, top-right)
| Note |
|---|
Do DO NOT close this window or exit the App application during the Flash Processflash process. |
Flash Custom Maps
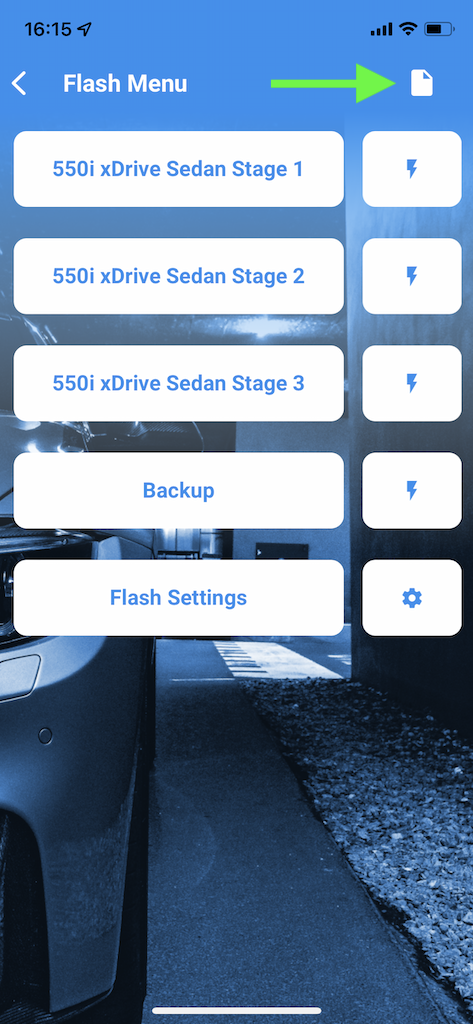
Open your car and click the “Flash” on the bottom right "FLASH THIS CAR" at the bottom of your screen. Select Flash from the Pop-Up Menu and click the File-Symbol on the top right on the next screen. Click on the "File" symbol above the "Info" buttons of the OTS maps.
This will open a file browser to where you can select your 3rd party custom map. Before proceeding to the flash, xHP will carry out perform extensive sanity health checks on your custom calibration.
If xHP reports a bad file you possibly an "invalid" file, you may have edited a restricted section in of your file. (e.g. Program part, Project numbers, etc.) After completing
Once the sanity check is complete, xHP will flash the calibration section of your Transmission transmission controller with your custom calibration map file and calculate , calculating all checksums and RSA corrections on the fly.
| Info |
|---|
xHP will check the connection and battery voltage of your vehicle before flash. If your voltage is below 11.0V, xHP will refuse to start the operation. |
In the Car-Screen you can find a history of the last files flashed. (3-white-dots, top-right)
| Note |
|---|
Do NOT close this window or exit the App during the Flash Process. |
Flash Backup/Uninstall
From the Map-Selection screen select “Backup”. When starting the Backup-Flash you get 3 options:
Backup: Flashes the unaltered Backup – CalibrationOriginal xHP Custom Map files, purchased from our https://www.xautomotive.com/, will be directly visible below the OTS Stages.
If you flash a custom map from our Custom Map Service, you might get the error message: "The map you are trying to flash is incompatible with the connected TCU."
In this case, please go to “More” in the bottom bar of the xHP App, then into "Settings", and activate the "Custom Map PST-Change" setting.
Flash Custom Settings
For more details on Flash settings and how to Import & Export Flash Settings, please see our dedicated chapter on the Customisation Module.
| Info |
|---|
Please do not simply enable all the custom features, but make sure you understand what each setting does. |
Flash Backup/Stage 0 or do a complete Uninstall
From the map selection screen, select 'Backup'. When the backup flash starts, you will be presented with three options:
Stage 0: Flashes the unmodified backup calibration. xHP remains installed. (Short - Flash)
Backup Stage 0 with Flash–Settings: Flashes your backup file , but applies any changes made in the Customization- Customisation Module
Uninstall: Full Uninstall of xHP (Long-Flash)
Back to the Overview Page.